Evolve & Survive Step-by-Step Survival and Progression
Scout, gather, fight in band, then evolve — repeat until the desert wins.
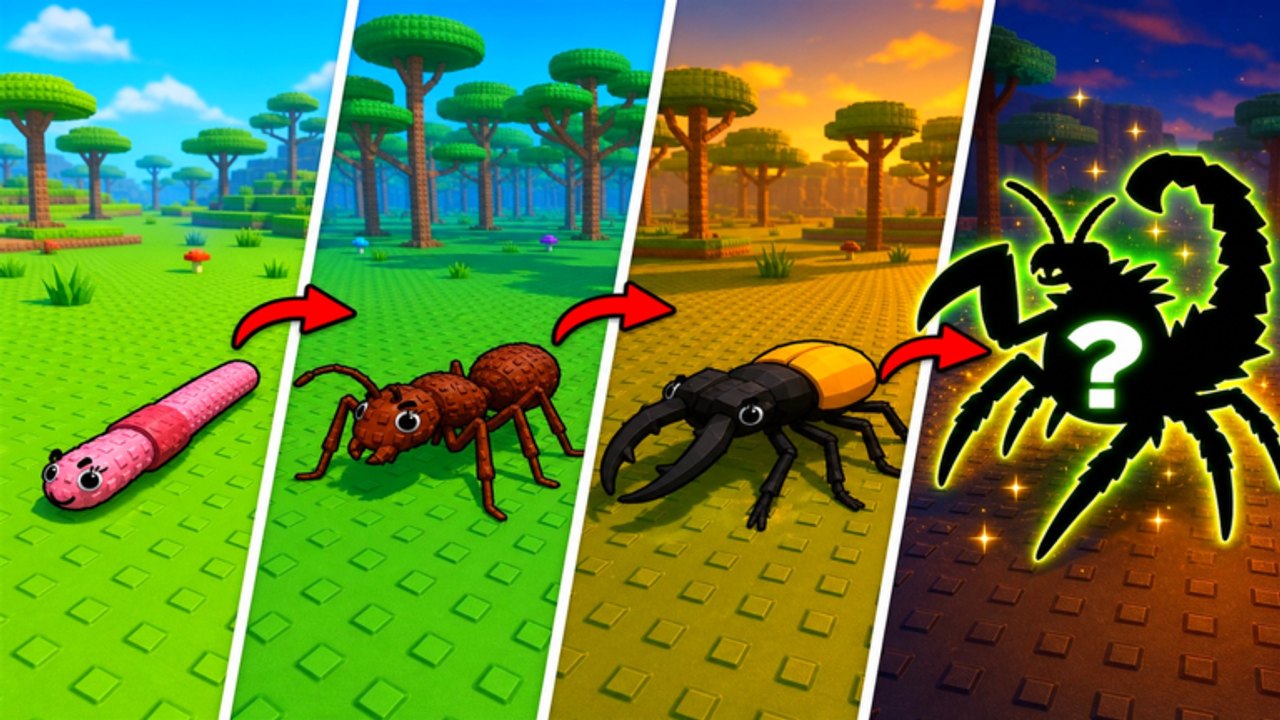
Strong evolution progress comes from consistent decisions rather than a single high-risk victory. This page gives you a repeatable loop: scout, gather, controlled encounter, evolve, recheck. Use it to turn the abstract tier list into actual progress through Hour 1 and into the late lobby.
Use best evolution picks if you want role rankings. Use this page if you want the practical route to execute.
The core loop
- Scout — check nearby threats, resource locations, escape routes, and recovery points.
- Gather — collect food from reliable locations near cover.
- Controlled encounter — fight only when the target is isolated and your escape route is clear.
- Evolve — select the upgrade that solves your weakest survival factor.
- Recheck — test the new build on a short route before entering harder territory.
Repeat until the current habitat no longer offers safe improvement, then move toward a richer area.
Step 1: Scout before gathering
Spend the first moments checking:
- Nearby threats and their distance
- Resource locations and food density
- Escape routes and cover options
- Recovery points if a fight goes wrong
Mark the safest path between two dependable resource points. A route is ready for expansion when you can complete it repeatedly, recover from a minor mistake, and still reach your next evolution without gambling the entire run.
Step 2: Secure a repeatable route
Gather from locations that can be revisited without crossing the most dangerous territory. Keep your route short enough that you can retreat before stamina or health becomes critical.
| Route stage | Objective | Stop condition |
|---|---|---|
| Opening | Learn nearby resources and threats | You know one safe loop |
| Stabilization | Repeat gathering with low risk | Health or stamina remains manageable |
| Growth | Add controlled encounters | You can secure rewards without pursuit |
| Transition | Move toward a richer habitat | The current area gives limited progress |
Step 3: Take controlled encounters
Fight only when:
- The target is isolated
- Your escape route is clear
- The expected reward supports your next evolution
End the encounter when the risk changes. If a second predator appears, disengage. If your stamina drops below half, retreat. The how to play page covers band matching; this page covers timing.
Common causes of failed fights:
- Traveling too far without recovery
- Fighting while low on stamina
- Selecting damage before mobility
- Returning to a resource location on a predictable schedule
Step 4: Evolve at a safe moment
Select the upgrade that improves your weakest survival factor. Avoid making an evolution choice while actively chased or surrounded.
The four questions that guide the choice:
- Can this evolution survive the next area?
- Does it improve the way you already play?
- Will its strengths remain useful after the next upgrade?
- Does it reduce the time or risk involved in farming?
Step 5: Recheck the habitat
After evolving, test the new build on a short route. Confirm that movement, stamina, damage, and recovery still work together before entering a deeper danger zone.
| Review point | Good sign | Warning sign |
|---|---|---|
| First encounters | You clear safely with manageable recovery | Small mistakes end the run |
| Farming loop | You maintain steady movement and attacks | Downtime removes the speed advantage |
| Difficult fights | Defense or mobility covers your weaknesses | You must retreat after every exchange |
| Resource use | Your route supports several encounters | Recovery costs interrupt progression |
| Next evolution | The path continues toward your chosen role | Later stages do not solve your main problem |
Practical decision rules
- If survival scores two points below damage, prioritize defense or mobility.
- If damage is much lower than other categories, choose an offensive route only when you can safely compensate through positioning.
- If two forms score similarly, choose the one with the simpler execution.
- When two evolutions appear close, choose the one that lets you spend more time attacking, farming, or exploring and less time recovering from mistakes.
When to leave a safe habitat
Leave when:
- Your route is repeatable and your build can recover from small mistakes
- The current area offers limited progress
- You have tested the next habitat before moving fully
The biomes page covers lawn, forest, beach, desert, and oasis transitions.
After the loop
- Best evolution picks to choose your role
- How to evolve for the specific animal sequence
- XP and food routes for route optimization
- Revive planner to protect your progress
Frequently Asked Questions
Quick answers players search before they jump back into a server.
What is the best starting approach for evolution in Evolve & Survive?
Begin with scouting, safe gathering, and mobility-focused improvements. This gives you escape options while learning resource locations and enemy behavior.
Should I prioritize attack or defense first?
Prioritize the stat causing your current failures. Choose attack when targets escape or fights last too long; choose defense when mistakes repeatedly end your run.
When should I leave a safe habitat?
Leave when your route is repeatable, your build can recover from small mistakes, and the current area offers limited progress.
How can I survive against multiple threats?
Avoid entering the center of a group. Use terrain to separate enemies, preserve stamina for retreat, and disengage when the encounter stops being controlled.